
Thank you for purchasing our product. We are glad to be with you.
Below you will find the steps to configure your Nebula300 as a router.
Note: You do not need INTERNET for this settings. So make sure the Nebula300 does not have internet and also the device you are going to use, either PC or mobil.
1. Nebula300
2. Ethernet cable (RJ-45). This comes in the box.
3. Power Supply. This comes in the box.
Note: Before we start the following steps, make sure you do not have internet in the Nebula and your device.
1. Make sure the Nebula300 do not have any cable connected to him.
2. Proceed to connect the power supply to the Nebula300 so he cant turn ON.
3. Take the Ethernet cable that comes with the Nebula, connect one end of the cable in the LAN port 1 in the back of the Nebula300, and the other end goes to your computer.
4. Press the reset button for about 30 seconds, then release.
5. If you are using a laptop please disable the Wi-Fi of the laptop.
6. Once all is connected then proceed to the Phase#2 of this article.
Note: If your laptop or PC does not have ethernet port then do the following below steps.
1. In your computer look for Wi-Fi signals. You should find the Nebula300 wireless signal. This should look like Nexxt_XXXXXX
2. Select the Nebula300 signal and connect your computer to him via Wi-Fi.
3. Once you are connected, proceed to the Phase#2 of this article.
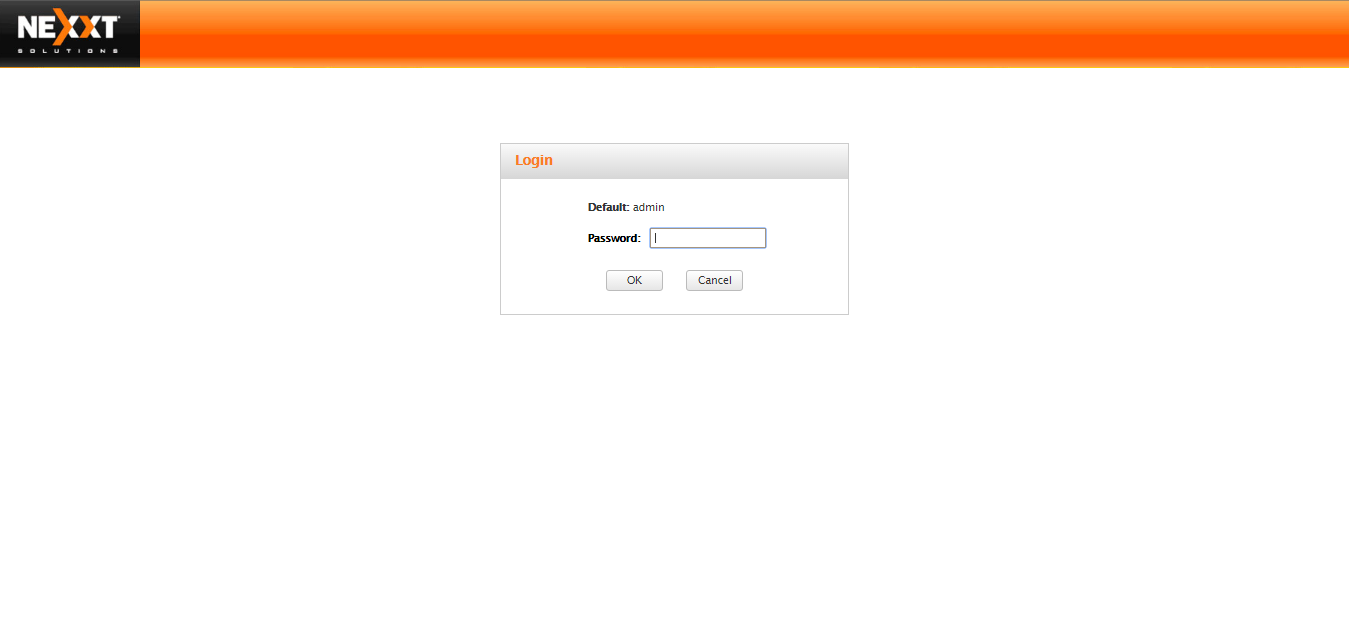
1. Open you browser, proceed to type the IP Address 192.168.0.1 on the search bar of your browser.

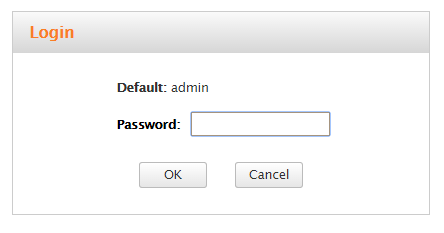
2. You will see the following webiste
Note1: If you do not see the webiste, then that means you are no connected to the Nebula300 correctly.
Note2: If you are seeing a different webiste instead, then that may be your ISP webiste. Make sure you are working alone with the Nebula.
3. Here you will type the password: admin
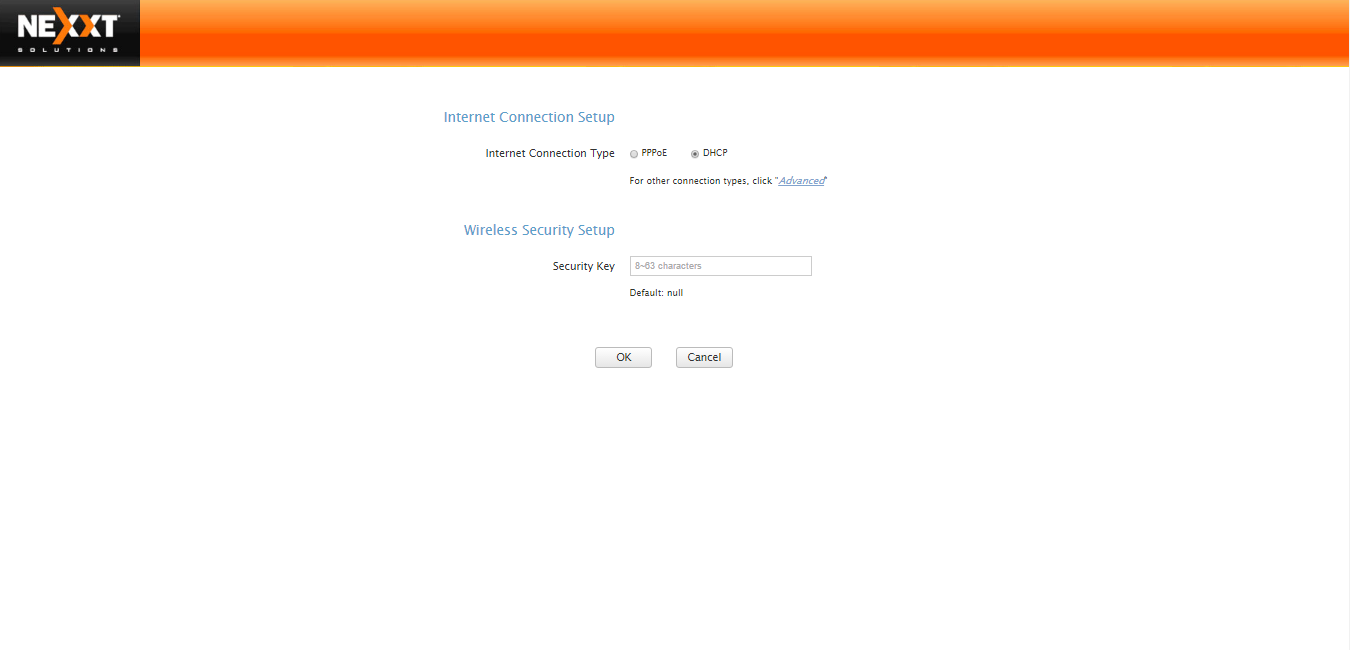
4. Then you will see this windows, make sure the DHCP option is selected
5. Go to Wireless Settings which is located on the top.
6. You will be on the Wireless Basic Settings
7. Here you if you desire you can change the name of the wireless signal the router display. If you want to leave it like it is, then skip this step and go directly to the next step.
You can click on the Primary SSID clear the field and type the name you want to be displayed. Then click OK to save the setting.
8. At the left you will see a list of sections. Select Wireless Security
In the option WPS Settings click on Disable so you can edit the above security settings.
9. Now you need to select the Security Mode please choose between WPA-PSK or WPA2-PSK
10. After selecting the security mode, proceed to choose the option AES
11. Add the password you want to use in Security Key
Press the Ok button so you can save the settings.
At the end it should be look something like the below picture.
When all is saved, proceed to connect the Nebula300 via cable to your main router. Note: If you are settings you Nebula300 as repeater then skip underline part.
Add content